A deep voice carries authority. Whether you're selling a product, delivering a speech, or recording a video, a lower vocal tone can make you sound more confident, persuasive, and trustworthy.
Studies show that people naturally associate deeper voices with leadership and influence, making it easier to command attention and successfully sell to your audience.
Beyond authority, a deeper voice is also more pleasant to listen to compared to a high-pitched voice. High-pitched voices can sound harsh or grating, whereas lower tones are often perceived as warm and soothing.
If you're creating content, especially audio-focused content like faceless videos or podcasts, your audience is more likely to stay engaged when your voice sounds rich and full.
People are more forgiving of a slightly lower-resolution video, but poor audio can drive them away instantly.
However, you shouldn’t overdo it. Artificially lowering your voice too much can make you sound unnatural or robotic. The key is to enhance your natural voice while keeping it authentic to who you are.
In this tutorial, we’ll show you how to make your voice deeper using Audacity, a free and powerful audio editing tool.
Let’s get started.
Tutorial for Deeper Voice
Step 1: Download and Install Audacity

If you already have Audiacity installed, you can skip this step. Otherwise:
- Go to Audacity’s official website
- Download the latest version for your operating system (Windows, macOS, or Linux)
- Install the software and open it
Step 2: Record or Import Your Audio
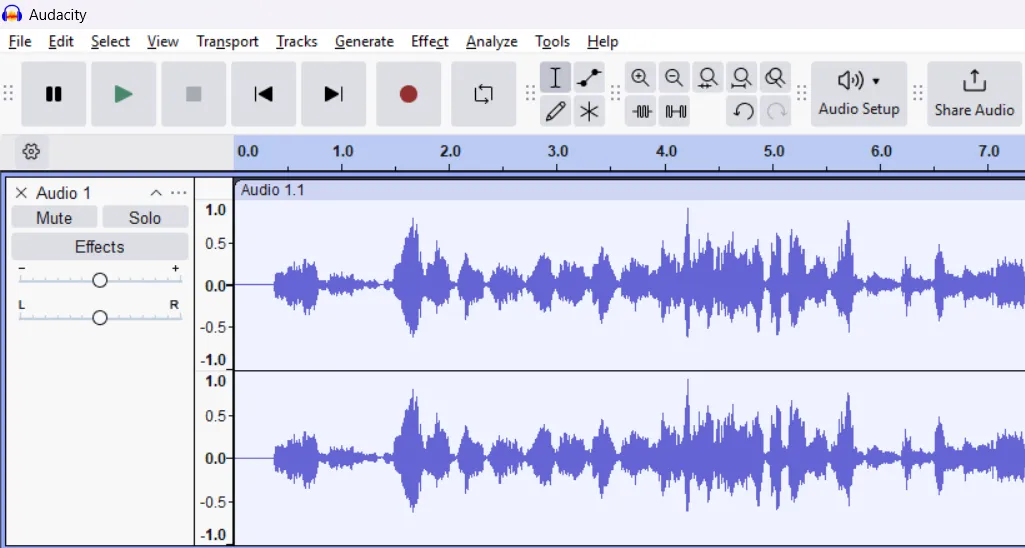
If you’re recording directly in Audacity:
- Click the Record button (red circle) and start speaking
- Click Stop (yellow square) when you’re done
If you already have an audio file:
- Click File > Import > Audio… and select your file
Step 3: Adjust the Pitch Without Changing Speed
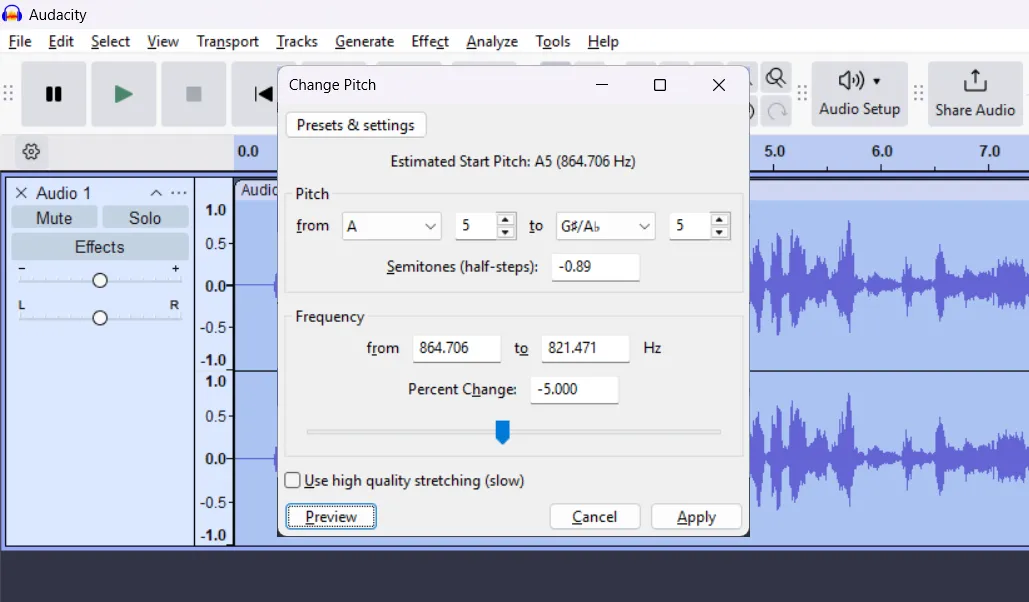
Lowering the pitch slightly can make your voice sound deeper while keeping it natural. Be careful not to overdo it, as excessive pitch adjustment can make your voice sound robotic or distorted. A subtle change of -4% to -10% usually provides the best results.
- Select your entire audio track (Ctrl + A / Cmd + A)
- Go to Effect > Change Pitch…
- Lower the pitch by -4% to -10% (adjust based on your preference)
- Change Semitones (half-steps) to a negative value
- Click Preview to hear the changes before applying
- Once satisfied, click OK
Experiment with different values as every voice and recording studio setup is different. It's important to understand that Pitch and Semitones should be in negative values to get the effect of a deep voice.
Step 4: Enhance the Bass Frequencies
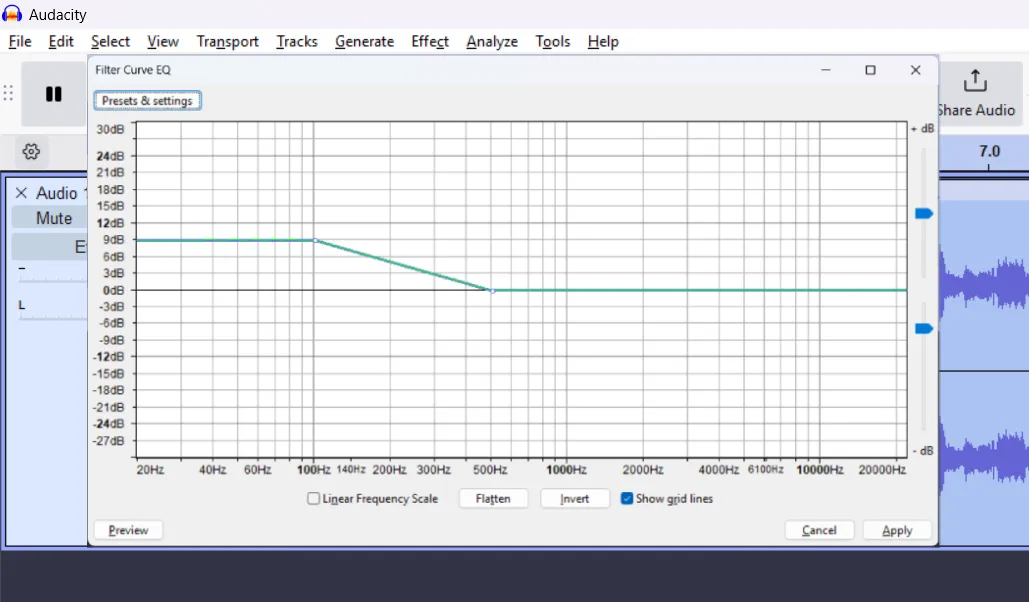
Boosting the lower frequencies helps add warmth and depth to your voice, making it sound fuller and more powerful. Avoid excessive boosting, as too much bass can make your voice sound muddy or unclear. Adjust gradually while previewing the changes to find the perfect balance.
- Select your audio track
- Go to Effect > Filter Curve EQ…
- Boost the lower frequencies (100Hz–250Hz) slightly by dragging the curve upwards
- Or you can use Bass Boost factory preset
- Click Preview and adjust as needed
- Click OK to apply
Step 5: Apply Compression for a Fuller Sound
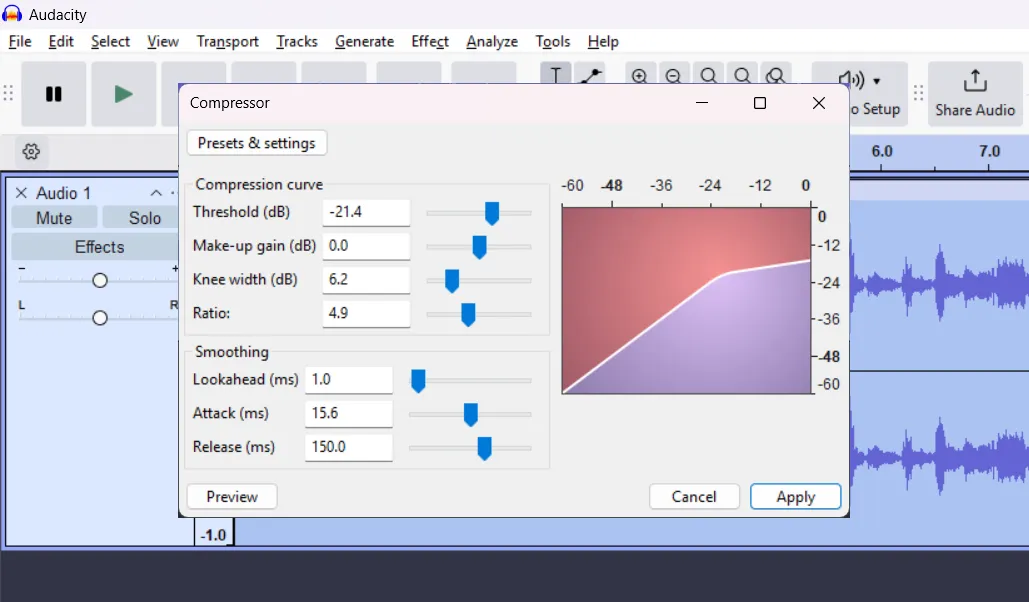
Compression helps balance your voice by reducing volume spikes and making your deeper tones more consistent.
- Select your audio track
- Go to Effect > Compressor…
- Use these recommended settings:
- Threshold: -20 dB to -30 dB
- Ratio: 3 to 5
- Knee Width (dB): around 6 dB
- Attack time: around 10-20 ms
- Release time: around 100-200 ms
- Click Preview to check, then OK
Step 6: Add a Subtle Reverb (Optional)
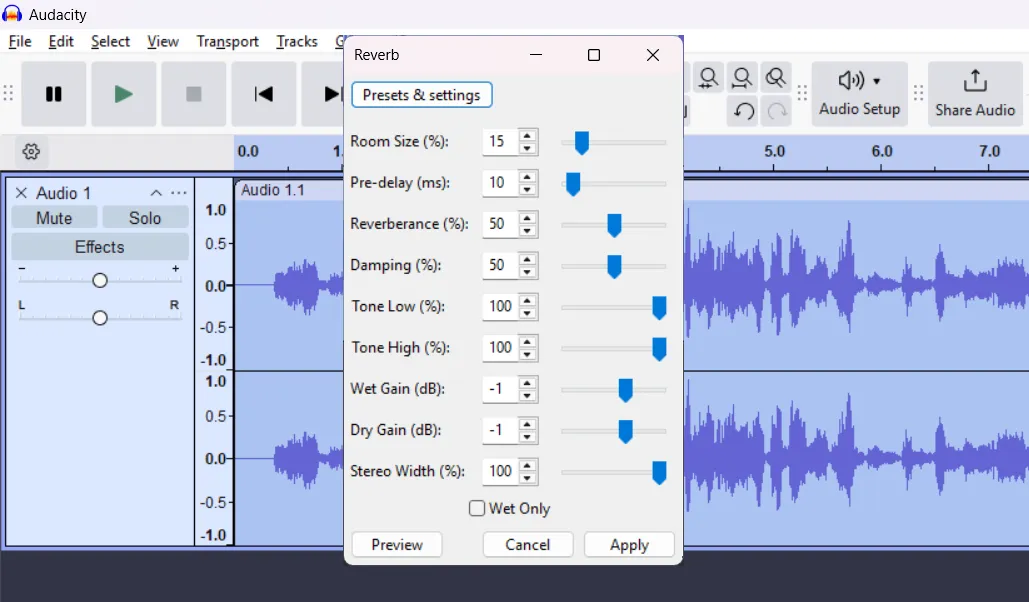
A slight reverb effect can give your voice a more natural, professional sound by adding depth and space. However, too much reverb can make your voice sound distant or echoey, so keep the effect subtle to maintain clarity and warmth.
- Go to Effect > Reverb…
- Use a small Room Size (around 10-15%)
- Keep the Wet Gain low to avoid an echoey effect
- Click OK to apply
Step 7: Export Your Final Audio
- Click File > Export
- Choose Export as MP3 or WAV
- Save your file and use it in your content
Additional Tips
If you want to deepen your voice beyond software adjustments, there are several natural and technical methods to consider.
First, the environment you record in plays a big role. Reduce echo by adding soft furnishings like carpets, curtains, or foam panels to absorb sound and create a warmer, fuller tone.
Choosing the right microphone also makes a significant difference; dynamic microphones like the Shure SM7B or Rode PodMic are great for capturing rich, deep vocals while minimizing background noise.
Additionally, proper vocal exercises can help train your voice to sound deeper and more resonant. Try humming exercises, vocal fry exercises, and diaphragmatic breathing to strengthen your lower register.
Posture also plays a role, standing tall with an open chest allows for better breath control and a more powerful voice.
Lastly, hydration is key; a well-hydrated throat produces a smoother, deeper tone, so drink plenty of water and avoid caffeine or alcohol before recording.
By combining these methods with Audacity’s enhancements, you can achieve a naturally deeper, more authoritative voice.